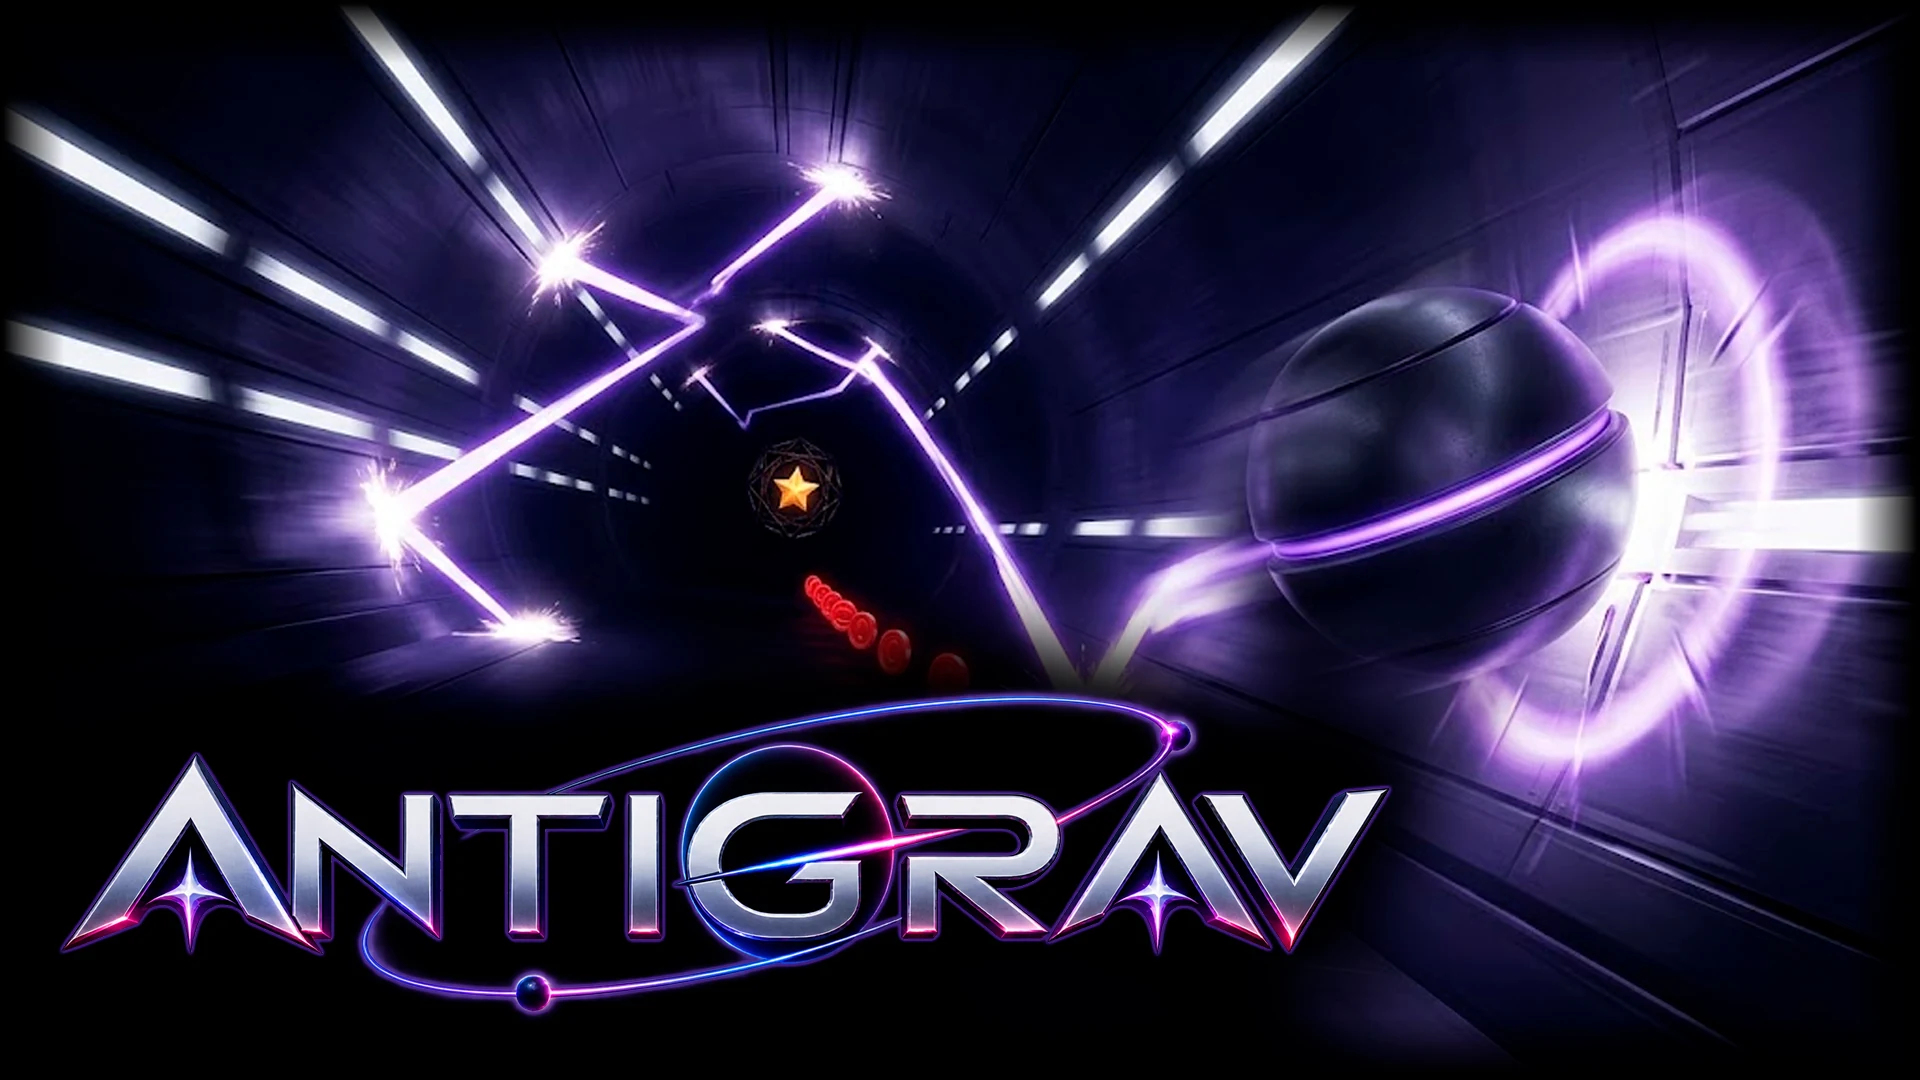
The campaign is twenty fixed levels. Each one is built from the same seed every time you play it, so the walls, the hazards and the red coins sit in the same places on every attempt. That is the whole point: a level is something you learn, not something you survive by luck. This chapter goes through all twenty, the hazards they introduce, and what changes when you switch to Hard.
How a level is built
Every level is a corridor with a floor and a ceiling. Most hazards cling to one wall at a time, which we will call the hazard wall; the opposite wall is kept clear. Every so often a large block appears on the clear wall, and after it the two sides swap. The generator always leaves an empty stretch after that block, sized to the level's top speed, so there is time to cross the corridor before the next threat arrives.
Three things happen at fixed points in every level, whatever its length:
- Tall pillars rise from the hazard wall at roughly 30%, 58% and 82% of the run. They are the biggest single obstacles in the level, so expect them.
- The anchor pocket appears at 30% of the run. It is where you charge the key for the bonus star (see Red coins, the horizon and the star).
- The caged star appears at about 62% of the run.
The red coins are spread evenly from 10% to 90% of the run: five on Easy, eight on Hard.
Speed is not constant. Each level starts at its own base speed and climbs by a further 300 units over the run, so the last stretch before the finish is always the fastest. A level is short: on Easy most take somewhere around ten to thirteen seconds of flying from start to finish, and on Hard roughly two and a half times that.
The twenty levels
Lengths are the distance to the finish gate in metres, as shown on the fail screen. Start speed is the Easy value; Hard starts 12% faster.
| # | Level | Easy / Hard length | Start speed | What it adds or asks |
|---|---|---|---|---|
| 1 | Low Orbit | 150 / 375 | 580 | Big slow swells and a wide corridor. Only wall blocks, spikes and floating bars. Learn to flip and bounce. |
| 2 | Freefall | 161 / 403 | 618 | A fast, shallow ripple in the walls. First darts. |
| 3 | Apogee | 170 / 425 | 648 | Long diagonal steps. First falling blocks. |
| 4 | Slingshot | 177 / 443 | 668 | The whole corridor starts drifting up and down and begins to pinch. First saws. |
| 5 | Roche Limit | 184 / 460 | 690 | Steep diagonals. First lasers and crushers: the full set is now in play. |
| 6 | Deadfall | 190 / 475 | 712 | A snaking corridor and the first real squeeze. |
| 7 | Perihelion | 195 / 488 | 728 | Faster wall ripple, tighter pinches. |
| 8 | Ion Storm | 199 / 498 | 746 | Symmetric pinches that close from both walls at once. On Hard, rapid burst lasers start here. |
| 9 | Red Shift | 204 / 510 | 759 | Very high-frequency walls and the heaviest crusher mix so far. |
| 10 | Lagrange | 168 / 420 | 630 | The breather. Shorter, slower, a wide corridor with almost no pinch and huge rolling swells. No falling blocks. |
| 11 | Blue Shift | 199 / 498 | 764 | Back to full pressure with steep diagonal slopes. |
| 12 | Coronal Mass | 204 / 510 | 778 | The corridor sits high in the screen. More saws. |
| 13 | Magnetar | 209 / 523 | 792 | Rapid, even churn from both walls. |
| 14 | Neutron Star | 213 / 533 | 804 | Ceiling-heavy and tight. |
| 15 | Escape Velocity | 218 / 545 | 813 | A low slalom with the most darts and lasers in the campaign. |
| 16 | Accretion | 223 / 558 | 824 | Very fast wall frequency with deep pinches. |
| 17 | Ergosphere | 228 / 570 | 834 | Snaking diagonals and the widest vertical drift yet. Dart-heavy. |
| 18 | Photon Sphere | 235 / 588 | 845 | Open stretches that slam shut. Crusher-heavy. |
| 19 | Tidal Lock | 242 / 605 | 860 | Ceiling-heavy, near-maximum pinch, crushers and saws. |
| 20 | Singularity | 252 / 630 | 875 | Every terrain value at or near its peak and the highest start speed. |
Two patterns are worth knowing. First, the hazards stack: nothing introduced early ever leaves. Second, the real difficulty curve is pinch and speed, not hazard count. From around level 11 the corridor narrows hard at its pinch points and the walls ripple fast enough that a bounce's angle changes from one metre to the next.
Hazard reference
The walls themselves never kill you. Touching one bounces you off it (see Physics, bouncing and speed). Everything in this table does.
| Hazard | First level | How it behaves |
|---|---|---|
| Spikes and blocks | 1 | Fixed to the hazard wall and follow its shape. Never taller than about half the corridor. |
| Bars and movers | 1 | Float in the middle of the corridor, clear of both walls. Movers slide up and down. |
| Pillars | 1 | Tall wall hazards. Three are scheduled in every level; from level 4 (Lagrange aside) they also turn up at random. |
| Darts | 2 | Launch from one wall and cut diagonally to the other, moving faster than the corridor scrolls. |
| Falling blocks | 3 | Appear just below the ceiling while the ceiling is the clear side, then drop onto the floor. |
| Saws | 4 | Spinning discs fixed to the hazard wall. |
| Lasers | 5 | A beam across the full width at one height. It cycles: a warning glow, then a lethal beam, then off. Only the lethal phase hurts. |
| Crushers | 5 | Piston from the hazard wall: extends in 0.22s, holds 0.38s, retracts in 0.28s, repeat. |
| Burst lasers | 8, Hard only | Lasers with a much shorter warning and a short, fast lethal flash. |
A pass within a hair of any hazard shows NEAR!. It scores nothing, but it counts toward the Daredevil award.
Easy and Hard
The switch on the main menu, and in Settings, changes every level at once:
| Setting | Easy | Hard |
|---|---|---|
| Level length | As listed | 2.5 times longer |
| Start speed | As listed | 12% faster |
| Hazard size | Normal | 35% bigger, wall hazards also wider |
| Hazard spacing | Normal | About 18% closer together |
| Clear lane kept beside hazards | Wider | About a quarter narrower |
| Red coins per level | 5 | 8 |
| Burst lasers | Never | From level 8 |
Stars are kept per level, not per difficulty. A level you three-star on Easy keeps its three stars, and Hard cannot add more. Hard is the mode for score, bullion and the event horizon, not for extra stars.
Unlocking and progress
Reaching the finish of a level, with any number of stars, unlocks the next one. The level select shows each level's best star count, and the big play button on the menu takes you to the first unlocked level that is not yet at three stars. Clearing level 20 shows the win screen with your star total out of 60.
When you crash, the game usually restarts the level by itself after a short moment and shows the percentage you reached, marked as a new best when you beat your record for that level. The full results panel appears only on your first death on a level, and after three deaths in a row that did not improve your best. That panel lists the three objectives so you can see which one you are missing.