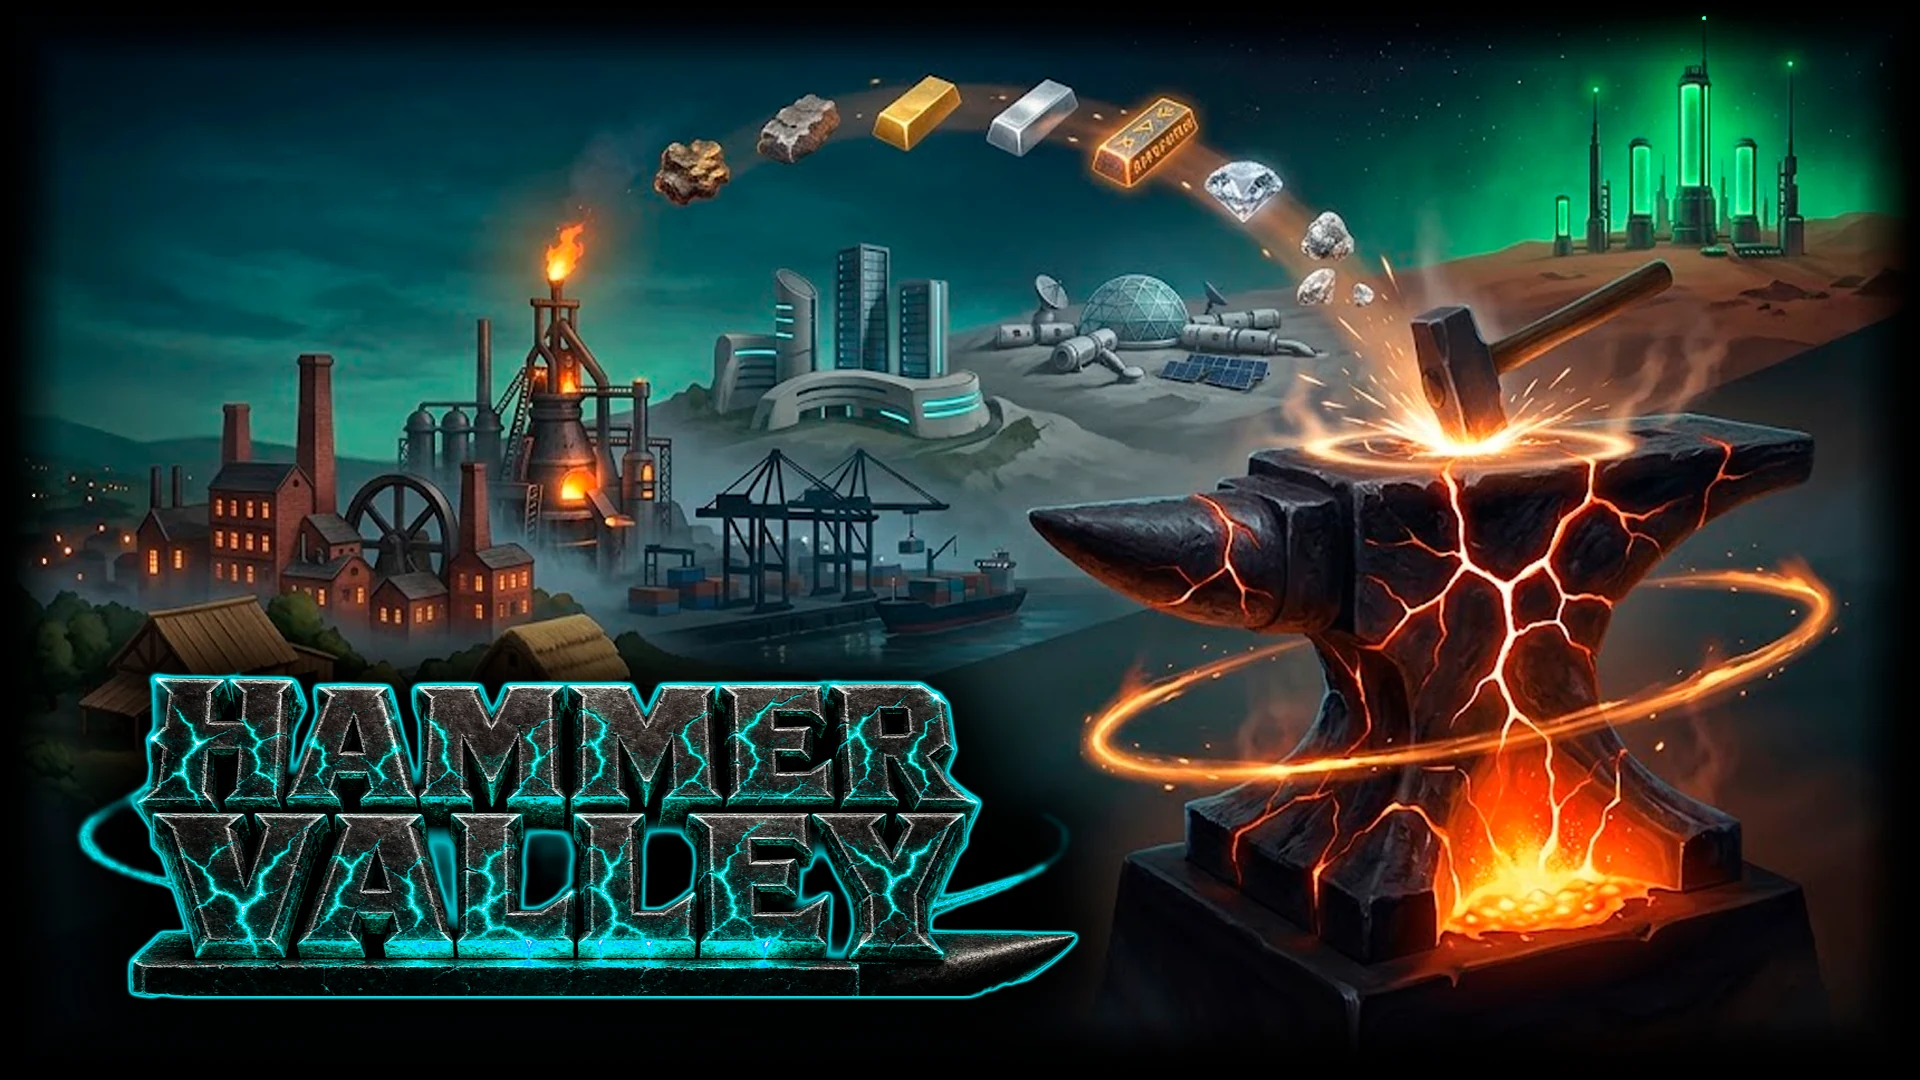
Hammer Valley is played across seven maps in a row. Each is a real place with its own people, its own raw material and its own way of turning that material into something someone has ordered. The chain is always raw input, fuel, a furnace, the smith's forge, and a buyer. What changes is the machinery, the job your own hands do, and the trouble that stops the line.
Every map also has one witness who met your sister Wren. They are your helper on that map, and they ask for the Commission that closes it.
| Map | Helper | Raw | Fuel | From the furnace | Finished work |
|---|---|---|---|---|---|
| 1. Hammer Valley | Brann, farmhand | Ore | Charcoal | Blooms | Pieces |
| 2. Ironbridge | Wick, the runner | Ore | Coke | Blooms | Pieces |
| 3. Steelhaven | Sal, site boss | Ore | Coke | Billets | Sections |
| 4. Port Sable | Meg, pilot | Ore | Oil | Billets | Forgings |
| 5. Silicon Reach | Noor, facilities | Silica | Cells | Wafers | Modules |
| 6. Selene Station | Hale, suit tech | Regolith | Oxygen | Blocks | Cells |
| 7. Ares Colony | Tova, quartermaster | Cores | Gas | Stock | Parts |
1. Hammer Valley: the farm
A farming valley with a river, a waterwheel sawmill, a windmill, a bakery and a field. Your sister's forge has sat cold for seven years. Brann the farmhand, Granny Maud, Pike the fisher, Hollis the cooper and Odo the trader all give you work.
The chain: dig ore at the Ore Pit up the hill, carry charcoal from the Charcoal Store, smelt both in the Furnace, strike the hot bloom on the anvil, and sell the piece to Odo at his stall. When his wagon holds six crates it drives to Ironbridge market and comes back with a 10% bonus on that load.
Signature buildings: the Smithy grows round your anvil, from a cold anvil to a roof, a quench trough and grindstone, a hearth, the treadle hammer (three strikes a piece instead of five), the tilt hammer driven by the wheel, and finally the full smithy. From Ore Pit tier 5 a chute carries ore down to the furnace so nobody walks it.
The hot run: keep the furnace fed for four casts in a row and it runs hot for 20 seconds. The sky goes orange, crits land 40% of the time and Odo pays double. Maud's bell clapper only counts if it is struck during a hot run. The bread chain also lives here: while the Hands' Home larder has bread, your hired hands walk 15% faster.
What stops the line: a clinker in the furnace, a slipped windlass rope, or a jammed chute.
2. Ironbridge: the canal town
A guild city of brick terraces, a canal with a lock and an iron bridge. Wick carried Wren's letters out of here. The ore comes by narrowboat to the Ore Wharf, coke comes down the canal to the Coke Yard, and horse drays carry blooms to the square and finished work to Odo's goods yard.
Your job: the Steam Hammer. A bloom lands on the block and cools from a white flash through working yellow to red. Three drops make a piece. All three on the yellow and it is proved (full pay, counts for orders). The first on the white flash makes a master piece worth half again. Any drop on the red makes a plain piece at half pay that does not count.
Signature buildings: the Bloomery Works, the Exchange, the Guild Hall where hands sign on, the Canal Warehouse, plus four lines the valley never had: the Canal Dredge (more ore), the Steam Dynamo (faster smelting), the Rail Spur (faster hands) and the Guild Ledger (higher prices). A fault is cleared by hand or by ringing the bell on the square to send the hand who signed for that job.
3. Steelhaven: rail and steel
A steel town of tenements, trams and an elevated railway on a brick viaduct. Sal, the site boss, hired Wren and then fired her. Ore is wound up a shaft at the Ore Mine, coke crosses by ropeway from the Colliery, the Blast Furnace casts billets, and a lorry takes sections to Odo's freight dock.
Your job: the Rolling Mill. A billet runs down the roller table and you throw the lever as its nose reaches the rolls. Three passes on the mark stamp a section. Early, late or cold is a cobble. Master orders want two passes dead on the mark.
Signature buildings: the Control Tower, the Gasoline Yard, the Transformer Yard, the Loader, and the Steel Foundry, which is a wall: the Blast Furnace, Ore Mine and Freight Terminal cannot reach tier 4 until the Foundry is at tier 2, or tier 7 until it is at tier 4. Faults are reported by pillar telephones at every door.
4. Port Sable: the quay
A modern harbour with four berths, a tank farm and an oil field on the heights. Meg flew Wren out of here. A bulk carrier is unloaded at the Ore Quay, a tanker feeds the Bunker Oil Dock, the Arc Furnace melts, and a straddle carrier takes forgings to Odo's ship, which only sails at high water and never in a gale.
Your job: the Forging Press. Press DOWN to start the ram, watch the gauge climb, release UP in the green. Two true strokes stamp a piece; both dead centre is a master stamp. At the export quay you also call the hatch drops on the low point of the swell. A radio on your belt calls the gangs on four channels: quay, furnace, yard and ships.
Signature buildings: the Dock Bunkhouse, the Gantry Quay, the Oil Derrick, the Fuel Yard, the Ship Loader and the Diesel Refinery.
5. Silicon Reach: the campus
A tech campus of glass, drones and a reactor pool. Noor runs facilities and has a security log with a hole in it. Nothing is carried by hand. The Silica Intake fills cassettes, the Wafer Fab turns them into mirror discs, drones and later a monorail fly them to the Robot Cell, and a freight drone takes each order.
Your job: at tiers 1 and 2 of the Robot Cell you tap to place each die; a tap on the beat places it in a fifth of the time. Every module crosses an inspection beam: tap as it crosses to certify it, dead on the line for a gold certificate that pays half again. A tablet on your belt clears faults from anywhere. The weather here is the brownout: the reactor sheds to half power for 40 seconds, and only what the Thermal Battery can carry keeps running.
6. Selene Station: the Moon
A lunar base where nobody goes outside if a robot can. Hale fitted Wren's last suit. Robots scrape regolith at the Regolith Excavator, the Regolith Sinterer bakes it into blocks with sunlight, the Cracker pulls oxygen from rock and later ice, and the Vacuum Forge makes cells. Orders go up on the mass driver: a full magazine opens the sequence in Mission Control, where you charge, align on the mark and fire on green.
Your job: hands in the master grips, tapping as they line up. From Vacuum Forge tier 3 the forge runs from Mission Control. When a robot jams outside, you suit up at the airlock for an EVA: three taps between the dust arcs. The lunar night lasts ninety seconds every six minutes and stops the works unless the Solar Field can carry them.
7. Ares Colony: Mars
Domes on red ground, and a forge on the far ridge that nobody on the colony admits to lighting. Tova, the quartermaster, says there is no Wren on any manifest. The Deep Bore drills cores, the Atmos Processor pulls gas from the thin air, the Matter Synthesizer turns one core into one bar of stock, and the Mag Forge shapes the piece. Orders fly from the Launch Pad: three checks by hand (fuel, trajectory, wind), hold on a gust, press on green.
Your job: the yoke on the forum, tapping as the field closes on the mark, until tier 3 folds it away and the mission board runs the forge. Dust storms close the launch window and stop the works for a minute unless the Fusion Reactor's grid (tier 3) carries the colony. The fifth order on Ares has no buyer and pays nothing. What it is for is the end of the story.